Mirror, mirror
Michelle tasked me this year for our Halloween party to build a magic mirror. You know the type — looks like a normal mirror, but has a spooky face that talks to you out of it. Ok, easy enough. This ended up being a fun project, made more so by me leaving it until the last minute and essentially time-boxing myself to 48 hours to build it out.
Here’s the final result:
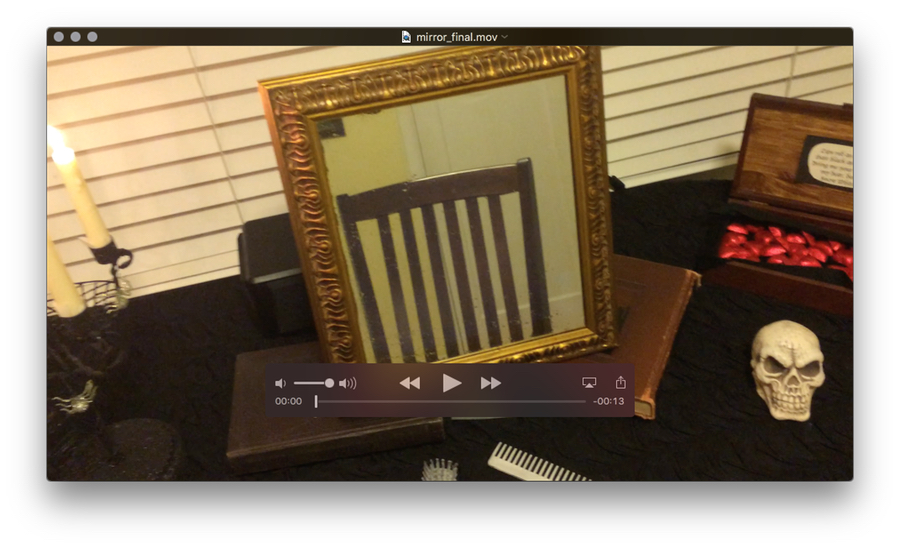
Read on for more about how I built this.
Disclaimer: What follows is generally poor code and snap decisions, but I had fun and it got the job done.
Inspiration
The only thing Michelle sent over to me originally was this project on Instructables, which features an Arduino-powered engine and the standard stuff like talking from a script, but also some cool features like a party breathalyzer and generic widget functionality like tweets, stocks, and weather.
The creator, Al Linke, seems to have a lock on cool mirror-type hobby projects on Instructables, so I browsed his stuff a bit, but the hardware focus wasn’t really grabbing me — I’m more a software person. I’m always looking for an excuse to get into more hardware hacking, but I just didn’t have the time this trip around.
I stepped back a moment and tried to imagine what I could do with what I knew already, but still stretching myself a little bit.
We also thought about where in the house we’d put the thing, and after experimenting with some wall- and shelf-based ideas in the main living space, decided to revamp my office into a “dressing table” of sorts with the mirror on it. This was so noise wouldn’t be a concern in the midst of the party, as well as to give us a bit more space to work with.
Hardware vision
The original approach I mapped out was the following:
-
Use a Mac to power the “brain” of the thing. Space wasn’t too much of a concern, so we could stash my MacBook Air under a desk or curtain. We’d hook up speakers to the Mac for good amplification.
-
Regular desktop monitor with VGA connection. We could pick up a nice, cheap, used one for the project.
-
My testing iPod touch for the “eyes”. With two cameras, a small profile, and lots of computing power, it should do nicely.
At the beginning, I hadn’t quite decided if I would tether the iPod to the Mac or have them communicate wirelessly somehow, but I figured that one way or another we could make it work. OS X and iOS code is my specialty, so I had a lot of flexibility.
Frame buildout
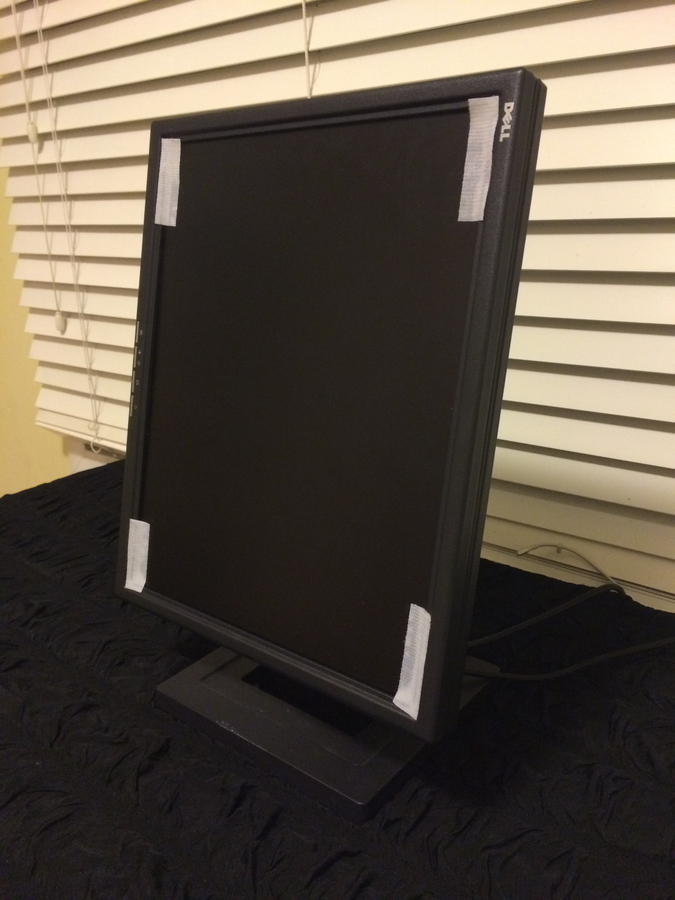
First we headed to the local Free Geek (“Helping the needy get nerdy since the beginning of the third millennium”). We found a solid Dell 15" monitor for thirty-five bucks and with a little screwdriver and Dremel action, were able to remount the monitor on its stand at a ninety-degree angle.
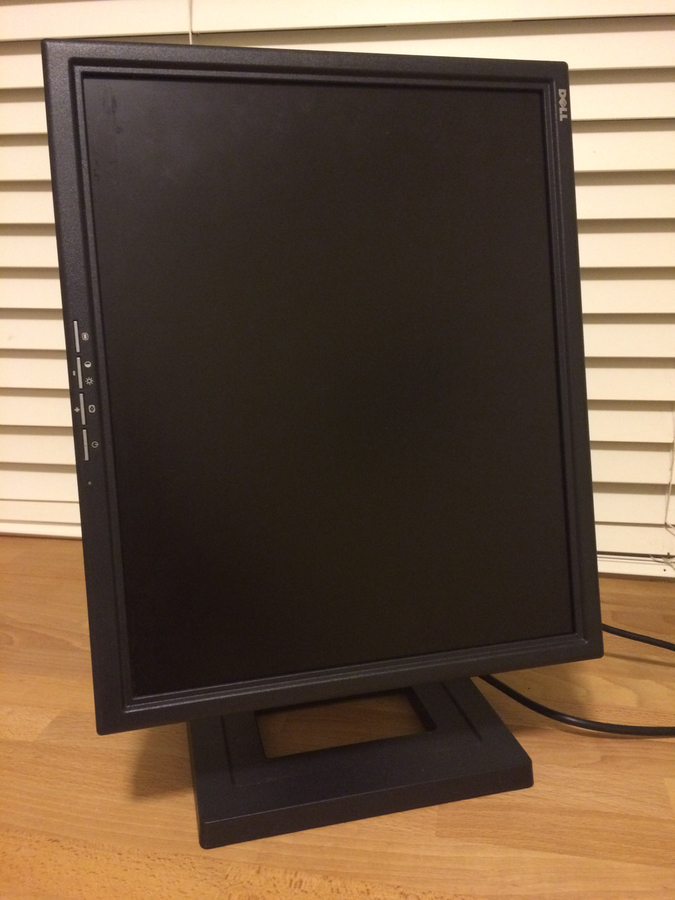
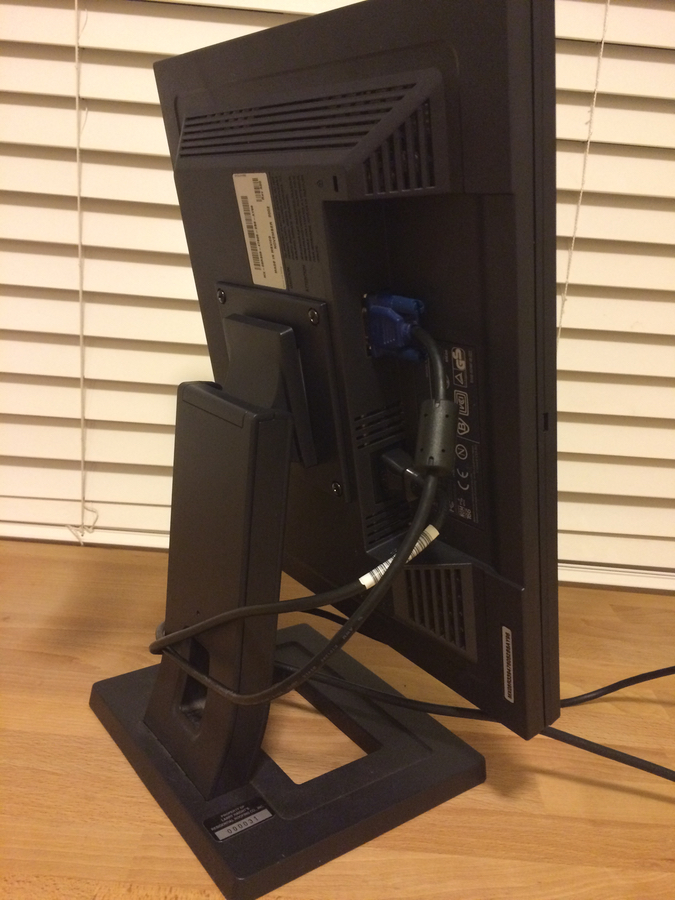
In fact, we scoped out monitors specifically for this capability — even small monitors are fairly heavy and they aren’t made to stand on their own, so having a backing stand like this was a great foundation for a picture frame buildout.
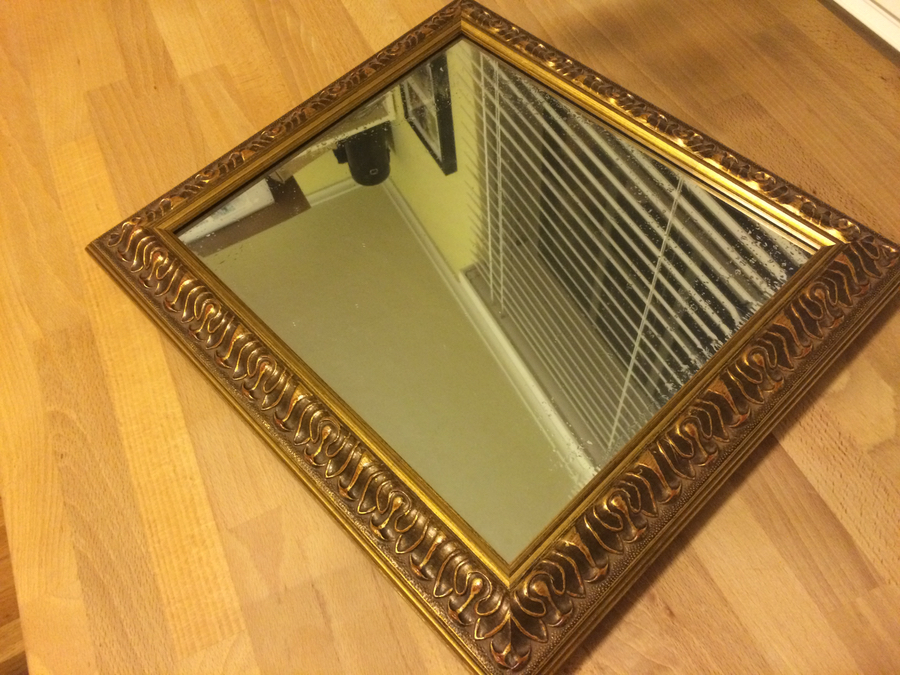
We headed down the street to our local Goodwill to check out picture frames and found a nice, ornate wooden one for less than ten bucks.
As the last main component, we did some research online and found that two-way mirror privacy film could be picked up at the hardware store. We ended up with several yards of it — more than we needed, but the smallest quantity available — for about thirty dollars.
Removing the picture, applying the film to the frame glass, and reassembling yielded our basic mirror:
The film has the behavior of functioning as a reflective surface when the viewer side is brighter than the backside, yet allowing bright imagery from the backside (such as a computer image) through when needed.
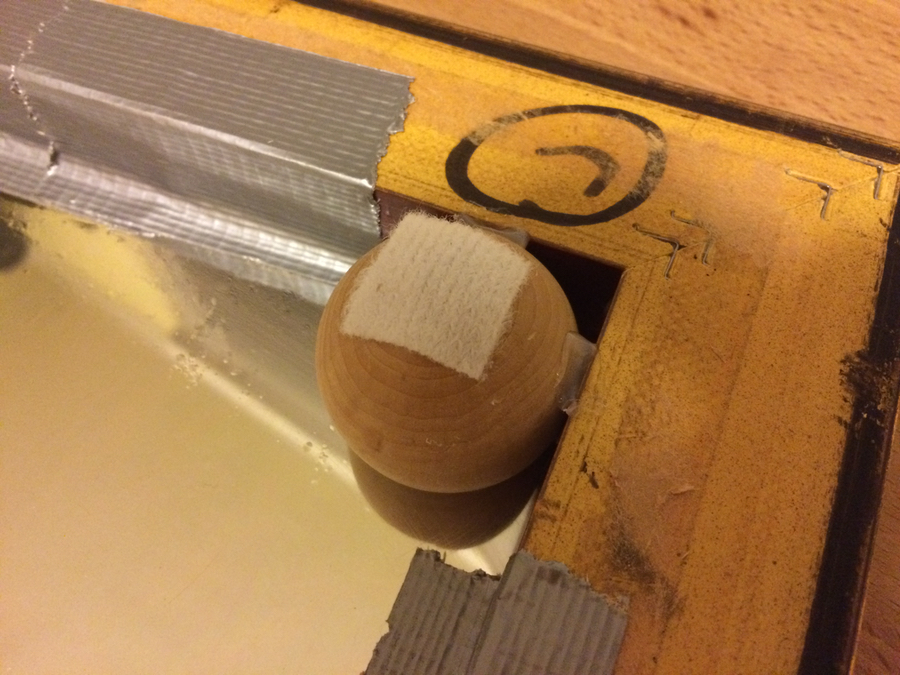
For the mounting, I used a bit of Velcro, some duct tape and hot glue, and some wooden ball craft supplies that I had lying around. These balls are flat on one side, making it easy to ensure the frame glass stayed in, yet giving a surface to attach Velcro to and proper spacing to give the mirror depth.
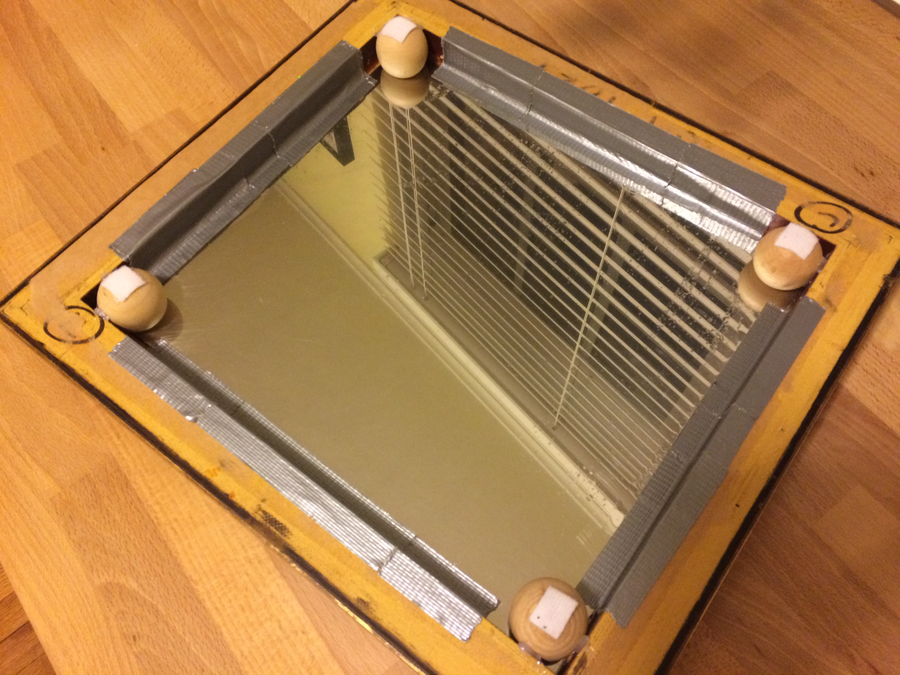
Now things were ready to go. Keeping the computer screen black functioned as a true mirror, but turning on any bright imagery on the screen showed up behind the glass a few inches.
Software planning
The face
Digging around from the original Instructables post, I ended up finding the Mirror Mirror software from ImaginEERIEng. The best qualities here were a) that it was cheap at fifteen dollars and b) that it had a free watermarked trial, which let me easily confirm that things would work ok with my setup. The software appears to be made with the Unity game engine, which gives me hope that maybe next year, I can build my own face or functionality from scratch for a little more personalization.
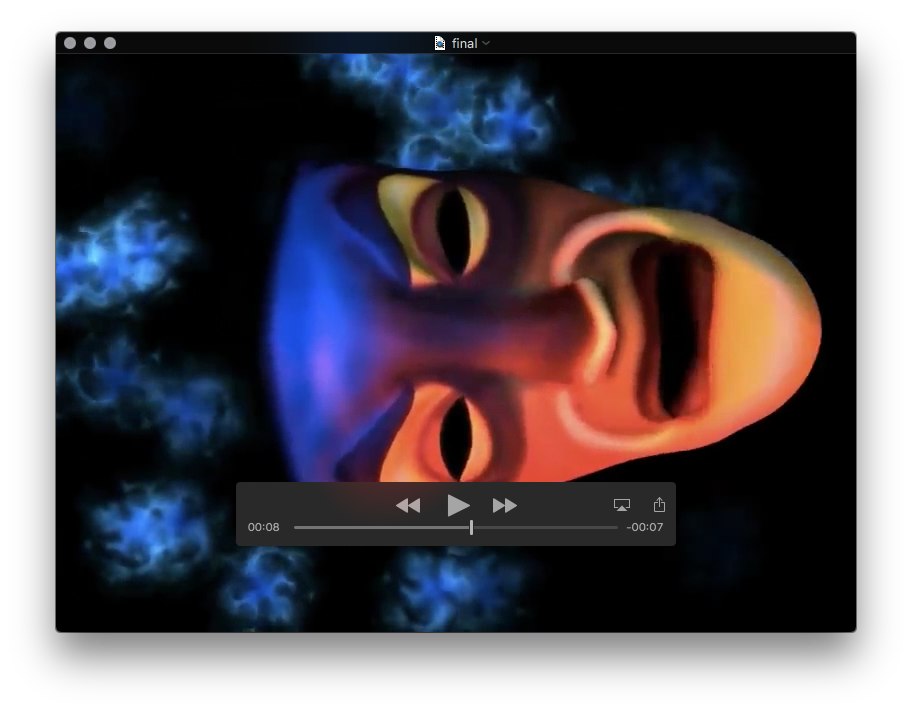
Using settings right in the app, I was able to rotate it ninety degrees for use on my portrait orientation monitor. The software as shipped allows basic mood manipulation (smile, frown, neutral), head turning, and most importantly, mouth movement by pressing the Shift key. With a few tests, I was confident I could learn to sync up the mouth with spoken word for a “good enough” face personality.
The personality
Since the face would require custom audio and mouth movement, I thought the best approach would be pre-record videos of the face and audio, then build a Mac app to simply loop through those videos depending upon input conditions. Building a fullscreen Mac video player app is pretty straightforward. More on the videos later.
The eyes
Originally, I did some tests with an iOS app on the iPod touch that used Core Image to recognize faces in the camera frame. It was able to count the number of faces recognized in the camera view and then speak (e.g. “one face” or “four faces”). I built this off of an open source project called Smile-Detector-CameraViewController by Maxim Makhun. It was trivial to adapt the code here to a) not worry about smile detection and b) just report the number of faces detected. I tuned up my project a bit and in an evening, I had an iOS app that could watch for faces and speak their count every second or two.
If I had more time, I would have continued down this path to customize the playback a bit to whether a person was alone, had a friend, brought a friend into frame, and other similar scenarios. But I decided instead that the face recognition was taking just a bit too long and that I also didn’t really have the time to build out the personality for these scenarios. So I decided to make a simple motion detector instead, and for that, I turned to the popular GPUImage project by my friend Brad Larson.
The kit has a motion detector class built-in, which basically evaluates incoming video frames and, using a high-pass filter, determines the delta between successive frames, triggering a callback that passes contextual info like the motion intensity and the location in the frame.
camera = GPUImageVideoCamera(
    sessionPreset: AVCaptureSessionPreset640x480,
    cameraPosition: .Front)
camera.outputImageOrientation = .PortraitUpsideDown
camera.horizontallyMirrorFrontFacingCamera = false
camera.horizontallyMirrorRearFacingCamera = false

filter.motionDetectionBlock = {
    [unowned self] centroid, intensity, frameTime in
    if intensity > 0.1 {
        self.motion = true
    } else {
        self.motion = false
        if self.lastMotion == false {
            return
        }
    }

    //
    // do communication work here
    //

    self.lastMotion = self.motion
    print("motion: \(self.motion)")
}

camera.addTarget(filter)
camera.startCameraCapture()
Of particular note here is that I’m not outputting the video anyplace, just observing it, and that I’m reading the iPod camera upside down due to the way it was mounted under the bottom edge of the frame, with just the top camera poking out.
Another nice benefit here is that no image need be shown on the iPod itself. I’m sure I could have gotten the face detector to do that as well, but I was working with a couple days of a few hours each, so fastest was best. It didn’t take very long to have an iPod app that logged a line when a certain amount of movement was detected in the camera frame.
The brain
Tying everything together was a “brain” app which could receive a trigger event, pull a pre-made video file from disk, and display it in a full-screen video player with speakers hooked up.
if alert == "true" && playerView.hidden || playerView.player == nil  {
    playerView.hidden = false
    let player = AVPlayer(URL: NSURL(fileURLWithPath:
        NSBundle.mainBundle().pathForResource("\(index)", ofType: "mp4")!))
    playerView.player = player
    player.play()
    index++
    if index == 7 {
        index = 1 // loop back to first video
    }
} else if playerView.player?.currentItem?.currentTime() >= playerView.player?.currentItem?.duration {
    playerView.player?.pause()
    playerView.player = nil
    playerView.hidden = true
}
I could have done this app in iOS as well (say, on an iPad), but since I had the physical space, I figured a Mac would be easier to tinker with. Plus, no iOS code signing! As you’ll see, though, I ended up using push notifications, so I had to hassle with code signing anyway…
The nervous system
I wanted the eyes and brain to not have to necessarily be in proximity of each other, though in the end, I could have used a cable with the final physical setup. Instead of working over USB, though, I decided to use push notifications from the iOS app, received by the Mac app, and used to communicate trigger events. This could allow the iPod to run completely wirelessly, even in a different room or on a wall, as long as the battery would hold out.
I used Parse for the backend, something I’d looked into briefly before for persistent object storage. It was fairly easy to get my Apple developer portal setup for push notifications using Parse’s push notifications tutorial. On the Mac (receiving) side, adapting that iOS sample project as well as Apple’s documentation was enough to work up some code that parsed notifications and acted on their values. Between the two apps, I was merely sending an object like { motion: true } — nothing too complex.
After receipt of a push, the brain would choose the next video, play it, and stop paying attention to pushes for a few seconds to avoid overlaps, since the eyes were continually sending notifications of detected movement.
The performances
Finally, everything physical was set; I just needed to drop in the videos to play when motion is detected.
Audio
I used a mic, headphones, and Apple’s GarageBand to record myself doing dramatic readings of various quotes. Tweaking some effects filters based on the “Monster” preset, I ended up with a sufficiently spooky voice.
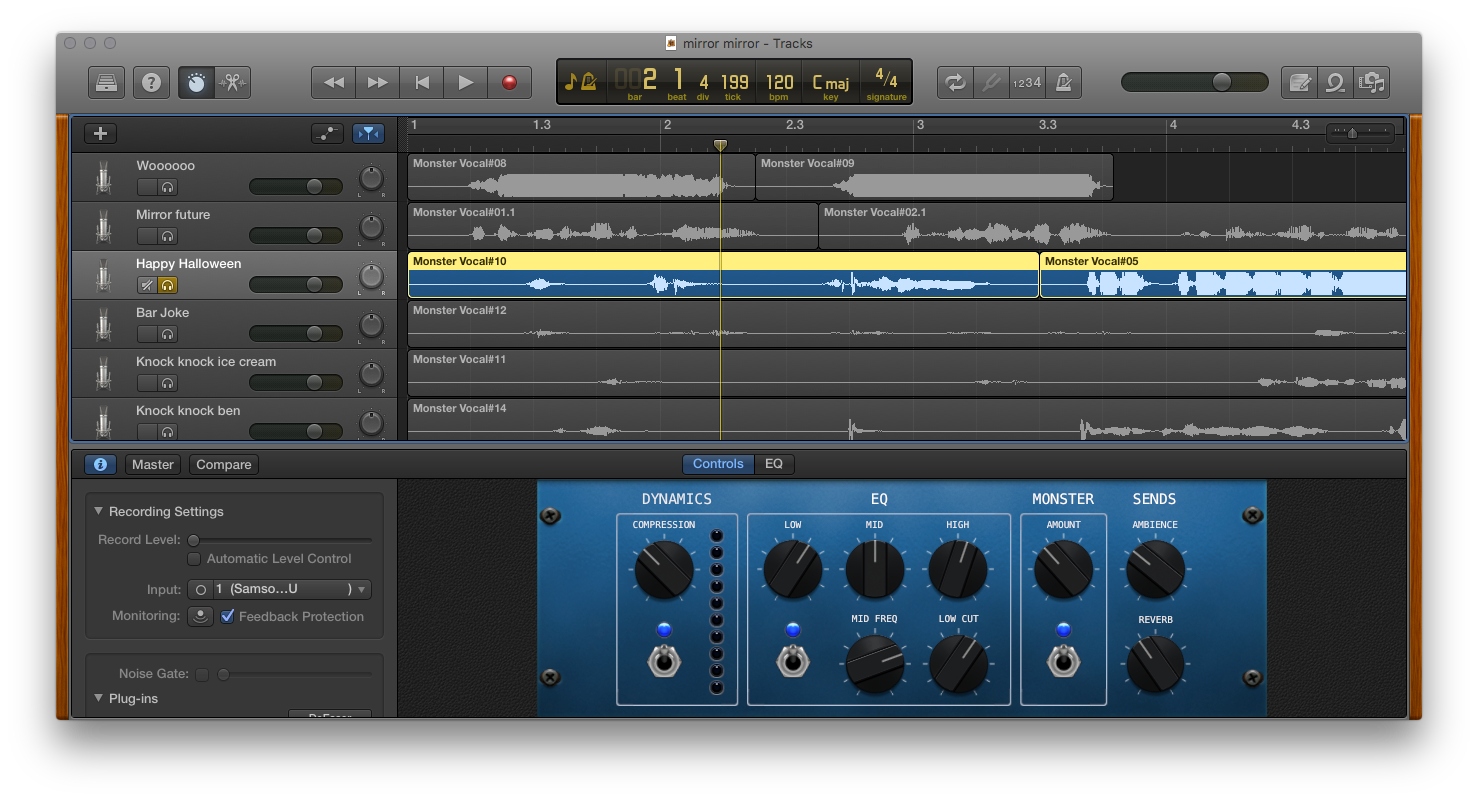
Here’s a comparison:
- My normal voice:
mirror_natural.mp3 - With effects:
mirror_effect.mp3
I made a few of these clips doing such things as Halloween knock-knock jokes, spooky ooooohs and aaaaahs, and the like.
Video
I put each audio clip on looped playback in GarageBand, fired up the excellent ScreenFlow app to record my screen and the computer audio, then started up the Mirror Mirror software and manipulated the mouth with the Shift key until I was happy with the takes. I trimmed each down to the best sync-up between voice and mouth and exported them as a set of videos in the Mac app.
Get the code
I’ve linked a bunch of my external resources in this post, but if you’d like the brain and eyes code (along with a sample playback video), head to these repositories:
mirror-mirror-eyes(iOS)mirror-mirror-brain(OS X)
Both are entirely Swift and are each actually surprisingly small amounts of code. It’s truly amazing the resources at our fingertips with powerful hardware and software and a little time and creativity.
Final effect, one more time
All told the project came in under a hundred dollars:
- $35 monitor
- $8 frame
- $30 reflective film
- $15 face software
I hope you enjoyed reading about this! I look forward to improving on it in future Halloween seasons and I’ll be sure to write up anything I learn or make that comes out of it.